Summary: Give every incoming paper one temporary inbox, then process it into action, file, shred, or recycle. Deadlines go on the calendar immediately; permanent records leave the kitchen; sensitive pages stay covered and secure; and children’s school papers, art, and keepsakes receive separate, size-limited rules.
Use one inbox and four explicit exits
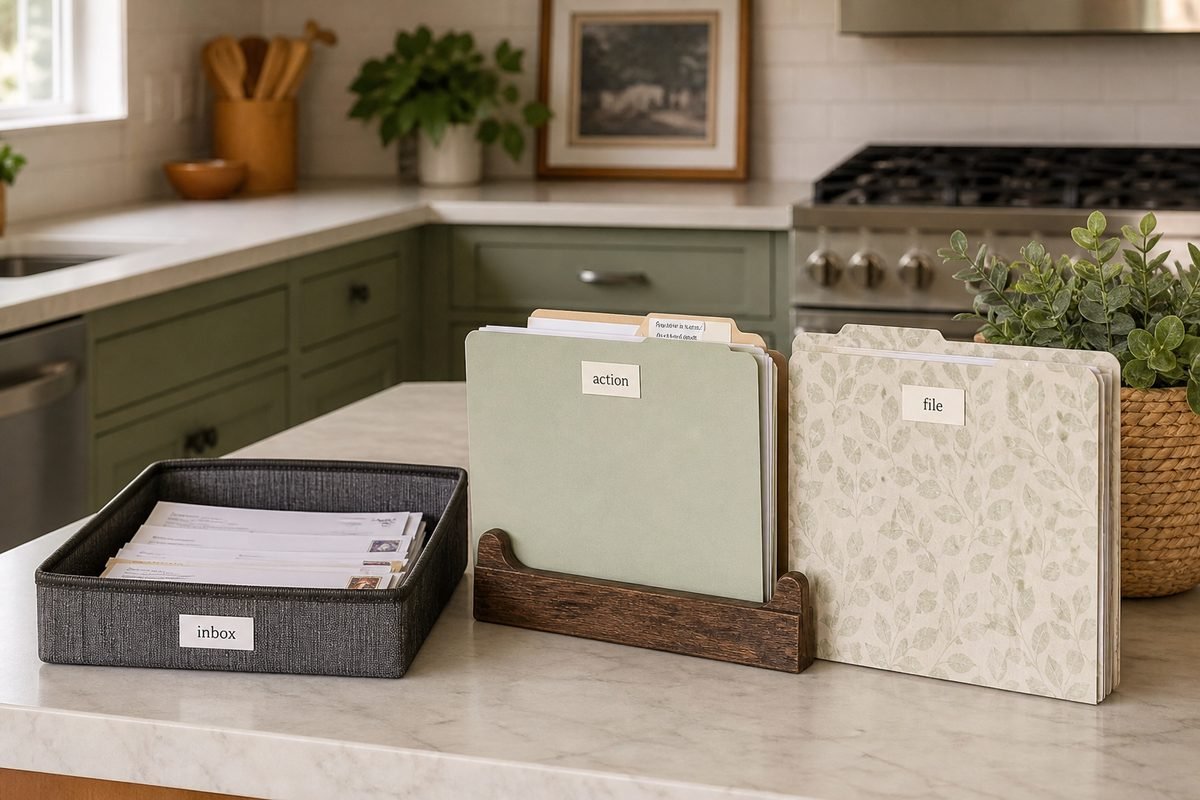
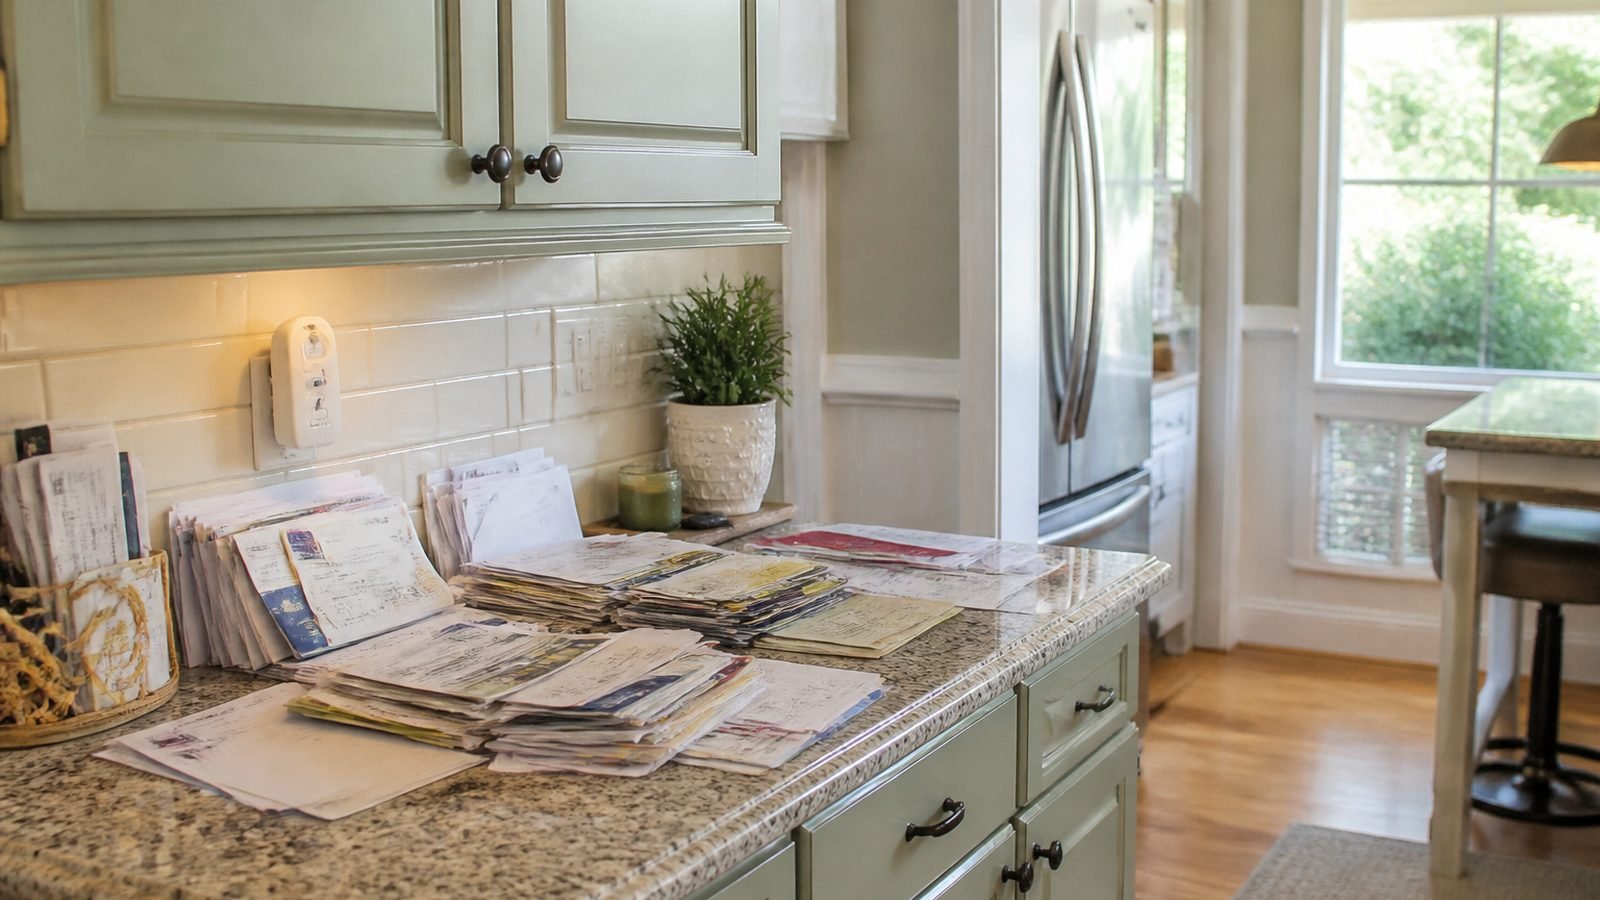
Paper piles are usually delayed decisions. A medical statement needs review, a school form needs a signature, a receipt may support a return, and a drawing may deserve display. When all four land in one stack, the top sheet hides the next action. A functional system gives new paper one temporary arrival point and requires every reviewed sheet to leave by one of four routes:
- Action: something must be paid, signed, called about, returned, discussed, or completed.
- File: the paper must be retained under the household’s legal, tax, insurance, medical, property, warranty, or personal record rules.
- Shred: the paper is no longer needed and contains information that should not enter open recycling or trash.
- Recycle or trash: the paper has no action, retention, or sensitive-information need and is accepted by the local waste stream.
Scanning is a method, not a fifth destination. After a successful scan is named, stored, backed up, and checked, the original still needs a retention decision: file the original, shred it, or recycle it as appropriate.
Set up the system without sacrificing the counter
1. Choose one inbox
Use a tray or vertical holder large enough for unfolded letter-size papers and the occasional larger school form. Put it near the normal entry route but outside food-preparation, sink-splash, stove, and pet-access areas. Label it “INBOX—UNPROCESSED.” A lid or opaque folder protects personal details when visitors, caregivers, contractors, or camera devices may see the counter.
The inbox is not an archive. Set a physical limit: when papers reach the marked fill line, processing happens before more are added. Eliminate competing piles by placing a small reminder card at former drop points: “Paper goes to inbox.”
2. Create an action folder
Use an upright folder or small sorter labeled “ACTION.” Add two or three internal folders based on the next step, such as “This Week,” “Waiting,” and “Take With Me.” Do not make categories for every company. The folder holds only papers with an unfinished action, and each paper needs a due date or review date.
3. Put permanent files elsewhere
Choose a secure, dry file location outside the kitchen. Label broad folders that match retrieval: Taxes, Home, Insurance, Medical, Vehicles, Employment, Warranties, and Personal. Adapt these to the household. A kitchen counter exposes paper to grease, water, heat, guests, and accidental disposal, so it is a poor long-term archive.
4. Define secure destruction
Use a closed “TO SHRED” container stored away from children and casual access, or take sensitive papers directly to the shredder when safe. Follow shredder instructions, keep hair, jewelry, cords, and children away, and do not exceed sheet or material limits. If using a community destruction service, secure papers until handoff and verify the service fits your needs.
5. Keep recycling convenient
Place an accepted-paper recycling container near the processing seat, not necessarily on the counter. Check local rules for envelopes, windows, coated paper, receipts, and shredded paper. Trash materials the local program does not accept.
Process the inbox in a fixed sequence
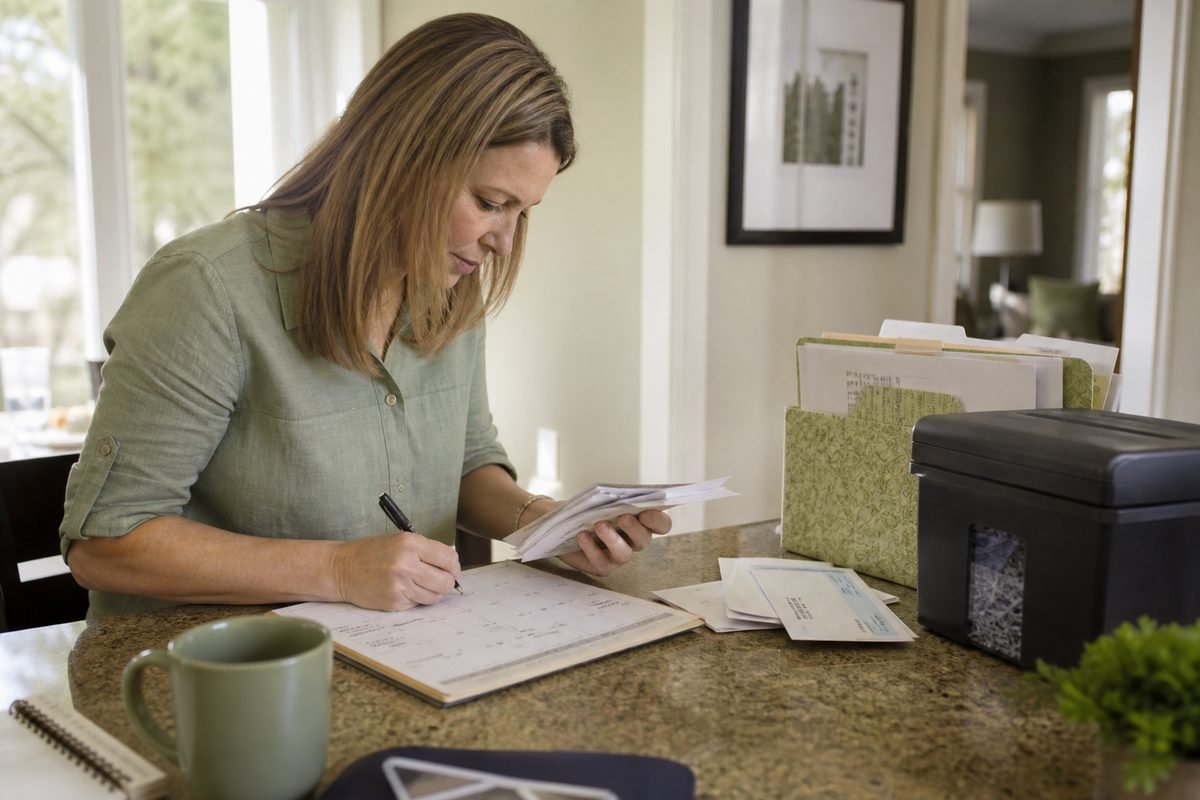
Choose two short appointments each week, such as Wednesday after dinner and Sunday before calendar planning. Ten or fifteen minutes is enough when the inbox is bounded. The person processing paper needs the household calendar, a pen, phone or computer if required, and access to the action, file, shred, and recycling destinations.
- Open and identify. Open mail addressed to you, remove inserts, and keep pages together. Do not open another adult’s private mail without permission.
- Look for a deadline. Read due dates, event dates, response windows, return deadlines, and appointment information before judging whether the page looks important.
- Calendar the commitment. Enter the event or deadline with enough detail to act: “Field-trip form due—put in Maya backpack,” not “school.” Add an earlier reminder when preparation is needed.
- Choose one exit. Move the paper immediately to action, file, shred, or recycling. Never return a reviewed sheet to the inbox.
- Add the next action. On an action paper, attach a note stating the verb, owner, and due date: “Lee—call insurer by Thursday.”
- Complete two-minute actions. If a safe, uncomplicated action genuinely takes about two minutes—sign a permission slip, add an appointment, or place a return receipt in a wallet—do it now, then route the paper.
- Stop at the appointment end. If paper remains, schedule the next processing block. Keep the sorted exits separate; do not sweep everything back together.
Process from top to bottom, not by interesting category
Cherry-picking easy flyers leaves old deadlines at the bottom. Take the top paper, decide, and move it out. If a paper needs another household member, put it in “Waiting,” message the person with the question, and set a review date. “Ask later” without a date is another pile.
Make the action folder produce action
Review “This Week” beside the household calendar. Arrange papers by next due date, with the soonest in front. Keep required supporting material together: a return label with the receipt, a school form with the event sheet, or a bill with the note about the disputed charge. Avoid attaching sensitive documents to the refrigerator or an open family board.
- Pay: verify the recipient and account using trusted information, note the due date, and follow the household’s payment-security practices.
- Call: write the phone number from a verified source, question to ask, account reference if needed, and available hours.
- Return: keep receipt, return deadline, item location, and shipping or store instructions together.
- Sign: read the complete document, sign only where appropriate, and place it in an outgoing folder or bag immediately.
- Waiting: record what was sent, to whom, on what date, and when to follow up.
At the end of each processing session, inspect the action folder from front to back. An empty inbox with an ignored action folder is not a working system.
Protect sensitive information at every stage
Treat pages containing Social Security numbers, account numbers, medical details, signatures, birth dates, student identifiers, passwords, security codes, or other private information as sensitive. Keep them face down or in an opaque folder while processing. Do not leave them in an open recycling bin, photograph them casually, or place them where a smart display or security camera can capture readable text.
Redacting with a marker may not make a document safe; text can remain readable under light or through the reverse side. Secure destruction is more reliable for papers no longer needed. Destroy address labels and barcodes when they expose information the household considers sensitive. Follow applicable requirements for business, client, patient, or employer records; a household shredder may not satisfy workplace rules.
Handle digital copies as records, not camera-roll clutter
Use a trusted scanning method. Confirm every page is complete, upright, readable, and assigned to the correct person. Name the file consistently, such as 2026-05-14_school-field-trip_Maya.pdf, and save it in the designated folder. Back it up under the household’s normal secure backup plan. Do not discard an original until you have confirmed that a digital copy is acceptable for that record and that the file opens from its stored location.
Create separate rules for children’s papers
School forms and notices
Process these as actions, not keepsakes. Enter dates, complete required signatures or payments through the school’s approved method, and place outgoing paper directly into the child’s backpack folder. Keep a copy only when needed. A weekly school calendar review should include both paper and the school’s digital system, because one may not contain everything.
Current schoolwork
Give each child one active folder for work that must return to school or be reviewed with a caregiver. Empty it on a fixed day. Completed routine worksheets can leave after the family confirms no teacher or support plan requires retention.
Art and keepsakes
Separate display from permanent keeping. Use a defined display area that holds a set number of pieces. When a new piece goes up, one comes down. At a monthly or term-based review, invite the child to choose favorites for a labeled portfolio or memory box with a physical limit. Add the child’s name, date or school year, and any story about the piece before filing.
Photographing oversized art can preserve a reference, but it is not mandatory and should follow family privacy choices. Avoid posting school names, student details, or location clues publicly. Three-dimensional projects need their own shelf or photo-and-release rule; do not let them enter the paper inbox.
Documents about children
Medical, custody, identity, individualized education, accommodation, and other sensitive child records belong in secure files, not the art portfolio or open school folder. Retention and access can matter legally and practically, so use appropriate authoritative guidance.
Build file rules based on retrieval and purpose
Before filing a paper, ask what event would cause you to retrieve it. A receipt needed for a return belongs with the action until the return window or issue ends. A receipt supporting a warranty belongs with the product record. A potentially tax-relevant receipt belongs under the household’s tax record plan. An ordinary receipt with no return, reimbursement, warranty, budget, or retention purpose can exit according to its information sensitivity and local waste rules.
Use names that another adult can understand
Label folders by real retrieval terms, not “Important” and “Miscellaneous.” For digital files, begin with an ISO-style date and add the issuer and subject. Maintain one index for unusual locations, such as an original document stored in a safe-deposit box. Tell an appropriate trusted household member how emergency and essential records can be accessed without exposing credentials on the kitchen counter.
Review files by trigger
Review warranty records when an item is disposed of, vehicle records when a vehicle is sold, and active insurance papers when a policy changes. Review tax and legal records according to applicable guidance. Trigger-based review is safer than an annual purge that treats every category alike.
Example: one Tuesday mail batch
The inbox contains a field-trip form, a utility notice, two grocery receipts, a medical explanation of benefits, a credit-card offer, and a child’s painting. The parent reads the field-trip deadline, adds the event and a two-day reminder to the calendar, signs the form, and places it in the child’s outgoing school folder. The utility notice requires no action but supports an account issue, so it goes to the dated action folder with a note to call.
One receipt is for a return and is clipped to the item’s return label in “Take With Me.” The other has no purpose and contains no information the household needs to protect, so it follows local disposal rules. The medical paper goes into the secure medical file under the household’s retention plan. The unwanted credit offer enters the closed shred container. The child chooses the painting for the display rail, replacing an older piece that moves to the bounded keepsake review folder. Nothing returns to the inbox.
Frequently asked questions
How large should the inbox be?
Large enough for normal incoming paper between scheduled processing sessions, but small enough to enforce a limit. It should hold unfolded standard papers and stay outside food and water zones.
What if my partner will not use the system?
Agree on one shared drop point and respect private mail. Put the person’s papers in a named folder, not multiple piles, and decide together when shared deadlines are reviewed.
Should bills stay on the counter until paid?
No. Put them in the dated action folder and calendar the due date. Sensitive account information should not remain openly visible.
Can I scan everything and throw away the originals?
No universal rule makes that safe. Some originals have legal, identity, warranty, or practical value. Verify the retention requirement and the scan before disposing of any original.
What should I shred?
Shred no-longer-needed paper whose personal, financial, medical, signature, account, student, or other sensitive content should not enter open waste. Apply legal or workplace requirements where relevant.
How does this fit a weekly reset?
The 30-minute weekly home reset moves loose paper into the inbox and checks tomorrow’s deadlines. Actual paper processing happens in its own short appointment so the reset does not become a filing project.
Conclusion
A clear counter comes from decisions, not a larger basket. Capture every sheet in one bounded inbox, process it on scheduled days, and require an action, file, shred, or recycling exit. Calendar deadlines immediately, secure personal information, and give children’s active forms and keepsakes different homes. When every reviewed paper leaves the inbox, the counter can return to cooking and daily life.