Summary: Painted cabinets are not one material. Factory-cured coatings, site-applied latex or alkyd paint, chalk-style paint, conversion finishes, and unknown refinishing products tolerate different cleaners. The door may also be solid wood, plywood, MDF, or particleboard, with vulnerable seams under an intact-looking face. Start with dry dust removal and a hidden test using dilute dish detergent. Work in small sections, keep liquid on the cloth rather than the cabinet, rinse residue with a barely damp cloth, and dry edges immediately. Stop when color transfers, sheen changes, paint softens, or a seam swells.
Identify the finish, substrate, and actual problem
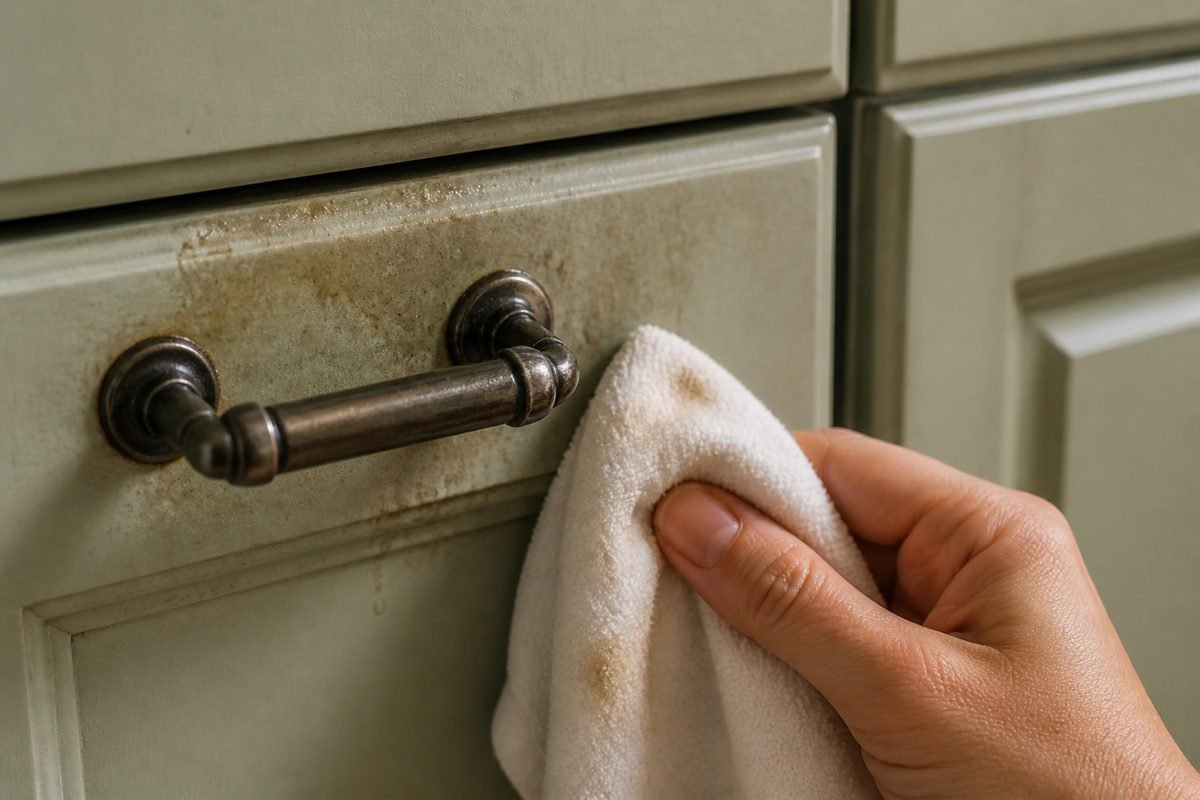
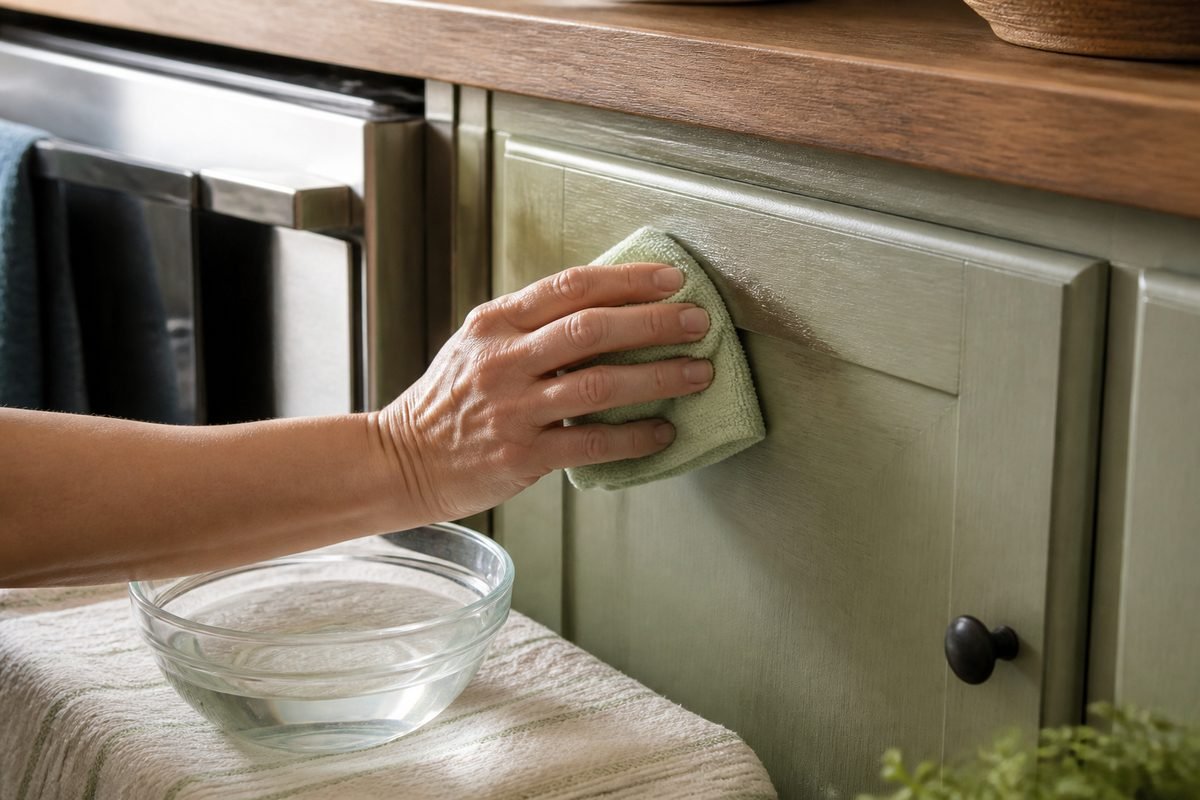
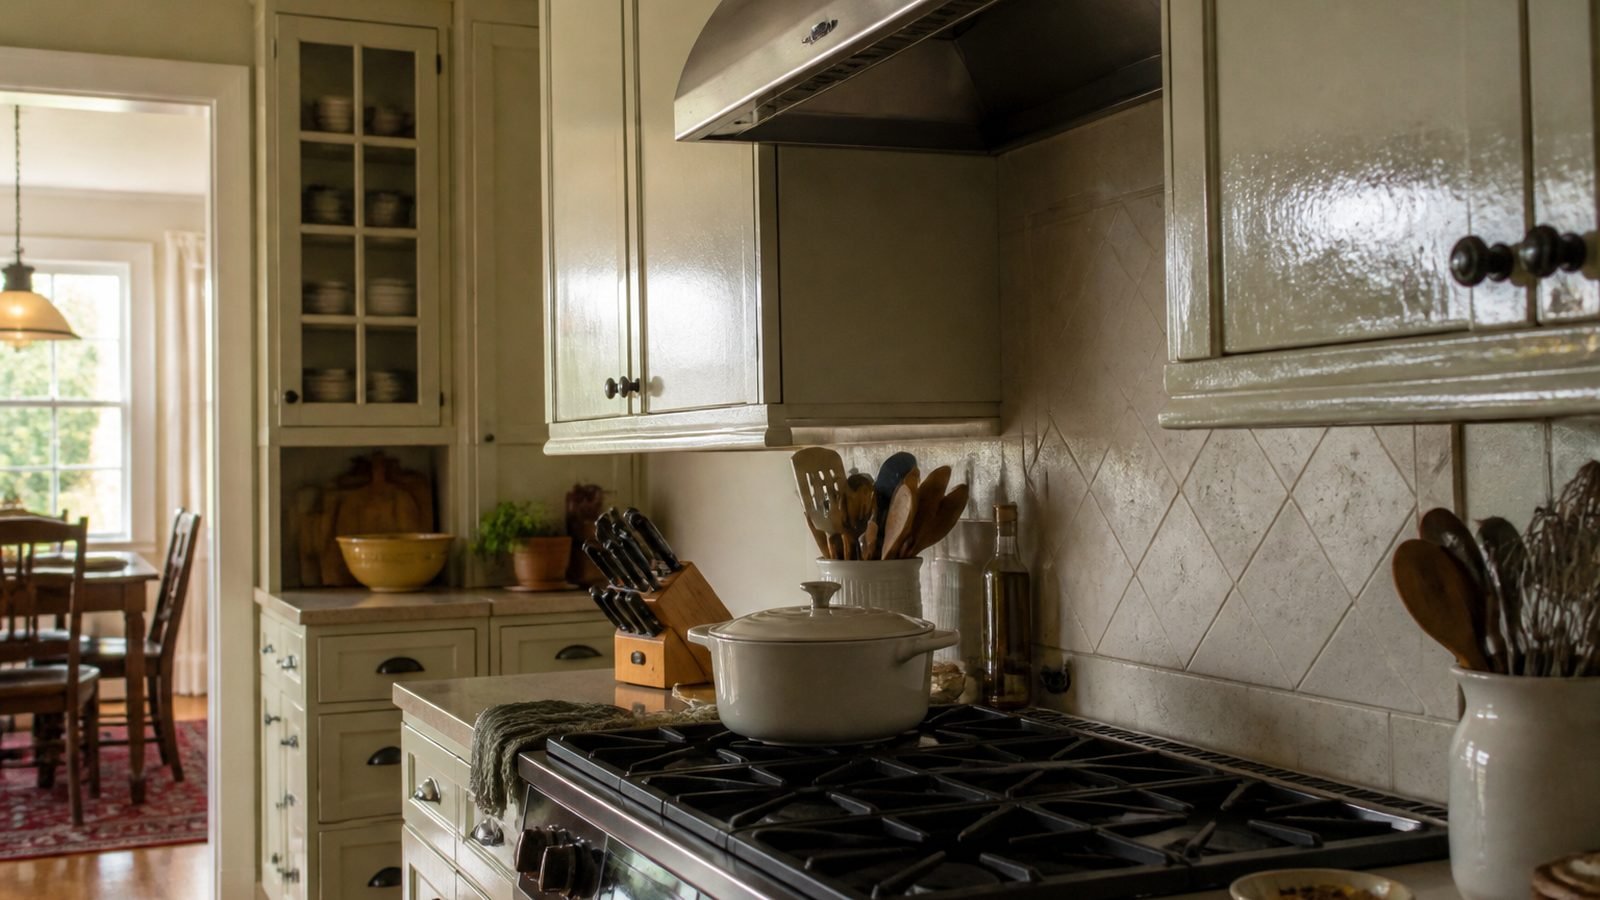
Cooking aerosol settles on doors near a range, then captures dust and skin oils. This film usually feels tacky and is strongest above the cooktop, beside the oven, and around pulls. Grease can be removed; yellowed paint, heat damage, nicotine staining, worn clear coat, and color change caused by sunlight may not clean back to the surrounding color. Repeated scrubbing of a damaged coating only removes more finish.
Find available product information
Look inside a sink cabinet, on a door hinge side, or in renovation records for the cabinet maker, paint brand, color, and care instructions. Factory finishes may specify pH-neutral soap and prohibit wax, silicone, ammonia, or citrus solvent. A site-painted cabinet may need the paint manufacturer’s full cure period before washing. If the finish is new, ask the painter when gentle cleaning is permitted; “dry to the touch” does not always mean fully cured.
Identify the coating by clues, not risky solvent tests
High-gloss or satin factory coatings often feel hard and uniform at door edges. Brushed site paint may show strokes. Chalk-style or matte decorative finishes can burnish under rubbing and may depend on wax or another topcoat. Milk paint and specialty finishes vary widely. Do not use alcohol, acetone, ammonia, or other solvents as an identification test; the test itself can dissolve, whiten, or soften an otherwise serviceable coating.
Inspect the substrate and edges
Open a door and inspect hinge cups, the bottom edge, corners, and any chip. Solid wood shows grain through its thickness. Plywood shows layers at an exposed edge. MDF has a fine, uniform fiber core; particleboard has larger compressed particles. Both engineered panels are vulnerable when liquid reaches an unsealed edge. Thermofoil is a plastic film over a substrate, not paint, and peeling film needs a different care method. If you find film lifting, do not treat it as a painted door.
Separate grease from coating failure
- Likely soil: sticky residue on top of an otherwise hard, even finish; a test wipe soils the cloth but leaves color and sheen unchanged.
- Likely finish wear: bare corners, permanent dull patches around pulls, cracking, flaking, or paint color on a lightly damp cloth.
- Likely heat or moisture damage: bubbling beside an appliance, swollen bottom edges, open joints, brown water marks, or delamination.
- Possible uncured or incompatible paint: a generally soft or tacky coating that fingerprints or blocks where doors touch.
Choose supplies that control moisture and abrasion
For the first attempt, gather a vacuum with a soft brush attachment, several clean white microfiber cloths, two small bowls, warm water, mild hand dishwashing liquid without abrasive particles, cotton swabs, soft towels, and nitrile gloves if your skin is sensitive. White cloths reveal paint transfer and grease. Use enough cloths to change faces frequently; a loaded cloth spreads oily soil.
Skip melamine foam, scouring pads, stiff brushes, abrasive powders, steam cleaners, and razor blades. Melamine foam is a fine abrasive and can flatten sheen even when the door still looks clean head-on. Steam drives heat and water into joints. Also avoid furniture polish and silicone-based products unless the cabinet maker calls for them; they can leave a film that attracts soil and complicates future repainting.
Commercial degreasers vary from mild surfactant products to strongly alkaline or solvent-containing cleaners. “Kitchen safe” does not guarantee compatibility with paint. Use one only when the cabinet or paint manufacturer approves it, then follow dilution, ventilation, protective-equipment, contact-time, and rinsing directions. Never mix cleaners, and never combine chlorine bleach with ammonia, acids, or other products.
Step-by-step method for intact washable paint
1. Protect the work area and hardware
Turn off and cool the cooktop and oven. Move food, dishes, and countertop appliances out of the immediate area. Place a towel on the counter, but do not create a trip hazard. If liquid could reach an outlet, under-cabinet light, or powered appliance, cut power as appropriate or keep the area dry and obtain qualified help. Never spray toward electrical components.
Remove knobs and pulls only if you can do so without damaging paint and can keep track of screws and spacers. Old paint may bridge onto hardware and chip when the pull lifts. When uncertain, clean around installed hardware with a cloth-wrapped fingertip and cotton swab. Do not let solution run into screw holes.
2. Remove dry grit first
Use the vacuum’s clean soft brush at low suction, or a dry microfiber cloth, to remove crumbs and dust from door tops, molding, corners, and hinge areas. Support the door with one hand so vacuum contact does not strain hinges. Dry removal matters because wet grit becomes an abrasive slurry. If the brush has previously cleaned floors, wash and dry it or use a cabinet-only attachment.
3. Mix a weak detergent solution
Fill one bowl with warm water and add only a small amount of mild dish liquid—enough to make a cleaning solution, not a bowl of foam. Fill the second bowl with plain water for the rinse cloth. Exact concentration depends on the detergent; follow its label if it provides surface-cleaning dilution. Too much soap leaves a tacky film that resembles remaining grease.
4. Test in a hidden location
Dip a white cloth, wring it until it is damp rather than dripping, and wipe a small spot on the hinge side or another concealed painted area. Follow with the barely damp rinse cloth and dry towel. Allow it to dry fully, then view it straight on and at an angle under the kitchen light. Check the cloth for cabinet color and the surface for dulling, softening, streaks, or raised grain.
If the test fails, stop. Contact the cabinet maker, painter, landlord, or a finish professional with photographs and the products used. Do not keep diluting random stronger cleaners. If the test passes, proceed with the same cloth wetness, pressure, and contact time.
5. Clean from the least greasy area toward the worst
Work on an area about the size of a sheet of paper. Wipe gently with the construction or visible grain, supporting the door. Turn the cloth to a clean face as soon as it looks gray or oily. Around a pull, press the damp cloth briefly against residue, then wipe; do not flood the joint. A cotton swab can reach a corner, but it should be damp, not saturated.
Clean vertical doors from lower areas upward when runs would be difficult to catch, then wipe any run immediately. For frames, keep the cloth away from exposed hinge mechanisms unless their maker allows water cleaning. Do not clean the inside and outside of every door at once; open doors create collisions and leave many wet edges.
6. Rinse detergent before it dries
Use a separate cloth dipped in plain water and wrung very thoroughly. Wipe the same small section once or twice to collect soap and suspended grease. If the rinse cloth becomes oily, change it or the water. Inspect with oblique light: streaks after drying often indicate residue, while a permanent dull patch may indicate wear or damage and should not be polished harder.
7. Dry seams and edges immediately
Use a soft dry towel on the door face, bottom edge, panel joints, pull holes, and frame corners. Leave doors open a small amount until all surfaces are dry, while keeping children and pets from bumping them. Do not aim a heat gun or hair dryer at paint. Excess heat can soften coatings and stress glued assemblies.
8. Recheck before expanding the job
Once the first door is dry, compare sheen and color with an adjacent door in daylight and kitchen lighting. Run clean fingers lightly over the test area: it should feel clean, not sticky or unusually rough. If grease remains but the finish is stable, repeat the same mild process once with fresh solution and cloths. If improvement stops, seek finish-specific guidance rather than increasing force.
Adjust the method for the coating
Factory-cured painted cabinets
Follow the manufacturer’s care page because catalyzed, ultraviolet-cured, lacquer-like, and conversion coatings differ. Many tolerate mild soap but prohibit wax, silicone, ammonia, and abrasive cleaners. Warranty language may require prompt drying and exclude damage at seams. Keep the care instructions with the home records.
Latex or acrylic paint
Fully cured satin and semi-gloss products are generally more washable than flat paint, but quality and age matter. Repeated rubbing can burnish flat and eggshell finishes, producing a shiny patch. If paint was applied recently, obey the manufacturer’s cure time. Water-based paint that remains broadly tacky long after application may reflect preparation, compatibility, or curing problems that cleaning will not solve.
Alkyd or oil-based paint
Older alkyd coatings may yellow, especially away from light. That color is not necessarily grease. A mild test can remove surface film, but solvents and aggressive alkaline products may dull or soften the coating. Cracking, chalking, or brittle paint needs repair planning, including lead-safe precautions where age makes lead possible.
Matte, chalk-style, milk, or waxed finishes
These decorative systems may absorb water, show wipe marks, or lose wax under detergent. Obtain the installer’s exact coating and maintenance directions. Do not assume that a generic dish-soap method is safe. A professional may need to clean and renew the protective topcoat consistently across a whole door.
Unknown finish in a rental
Photograph the cabinet and ask management for approved products. A renter should not use strong degreaser, remove doors, sand, repaint, or strip hardware without written permission. Record preexisting peeling, swelling, or heat damage before cleaning. Use only the approved method and retain the product name in case a finish reaction occurs.
Handle stubborn zones without escalating blindly
Heavy buildup above the range
Cool the area and check that residue is grease, not heat-softened paint. Repeat the tested dilute-detergent method using fresh cloth faces and short contact, rinsing and drying each pass. Stop after two passes if the surface does not improve. A finish professional can determine whether a compatible stronger cleaner or repainting is appropriate.
Sticky areas around pulls
Skin oil concentrates at pull edges. If hardware can be safely removed, wash the metal separately using its manufacturer-approved method and keep cabinet holes dry. Brass, plated metal, painted hardware, and unlacquered finishes require different products. Metal polish can stain paint and remove intentional patina, so never polish in place unless specifically approved.
Grooves and raised panels
Wrap a damp cloth over a cotton swab or a very soft, finish-safe brush rather than pouring cleaner into profiles. Work from the bottom of a groove outward so liquid does not pool. Dry with a clean swab. Toothpicks and metal picks can cut paint at sharp corners.
Grease returning quickly
Check the range hood and filters according to their manual. A ducted hood must actually exhaust outdoors to remove cooking aerosol effectively; a recirculating model relies on suitable filters. Clean or replace filters at the specified condition or interval. Do not operate without filters, wash a nonwashable filter, or reach into a fan housing while powered. Also use lids and wipe fresh splatter after the cooking surface cools.
Swollen or peeling edges
Stop adding moisture. Swelling indicates the substrate has absorbed liquid; peeling can expose more of it. Dry the area, identify a sink, dishwasher, steam, or cleaning source, and arrange repair. Caulk and touch-up paint applied over damp, expanded board rarely restore a flat durable edge.
Practical example: white cabinets beside a gas range
A white satin-painted door beside the range is yellow and sticky around its pull, while a door across the room is only dusty. The homeowner finds the paint record and confirms it is fully cured and washable with mild soap. There is no swelling, peeling, or paint transfer during a hidden test. The gas burners are off and cool.
The homeowner vacuums dry dust, cleans a paper-sized area with a nearly dry detergent cloth, changes cloth faces as they turn tan, rinses with a separate barely damp cloth, and dries the bottom edge. Most yellow film lifts, but a narrow dull ring around the pull remains. Because additional rubbing changes no more soil and could enlarge the dullness, the homeowner stops and records that ring as coating wear. The range-hood filter is then serviced according to its manual to slow new buildup.
Frequently asked questions
Can I use vinegar on painted cabinets?
Vinegar is acidic and is not approved for every coating, metal, stone, or nearby grout. It may dull some finishes and must never be mixed with chlorine bleach. Use the cabinet maker’s cleaner or a tested mild-detergent method instead.
Is dish soap always safe?
No. Formula, concentration, paint cure, sheen, and topcoat all matter. Choose a mild product, avoid heavily scented or additive-rich formulas when maker guidance is absent, dilute it, and perform a complete hidden test including rinse, dry, and angled-light inspection.
Can I use a magic eraser?
Melamine foam cleans through fine abrasion. It can flatten gloss, burnish matte paint, and expose color beneath a topcoat. It is not a low-risk first choice for painted cabinetry.
Why do cabinets still feel sticky after cleaning?
Possible causes include remaining grease, excess detergent, a silicone or polish film, uncured paint, heat-softened coating, or incompatible layers. Rinse a tested area with a barely damp clean cloth and dry it. If tack remains or paint transfers, stop and seek coating-specific advice.
Should I disinfect cabinets after degreasing?
Routine exterior cabinet cleaning usually focuses on soil removal. A disinfectant is needed only for a defined hygiene reason and must be compatible with the coating, used for its labeled contact time, and kept away from food and electrical parts as directed. Never mix it with the cleaner.
How often should cabinets be cleaned?
Wipe cooled fresh splatter promptly and clean pull areas when they begin to feel oily. Deep-clean only as buildup requires. Cooking style, hood performance, finish durability, and household use matter more than a universal schedule.
If cabinet swelling may come from room moisture or a leak, use the source checks in the musty linen closet guide. Add hood, plumbing, and finish observations to the older-house seasonal checklist. For managing moisture on another finish-sensitive surface, see the rental window condensation guide.
Conclusion
Safe cabinet degreasing depends on the coating and substrate, not the color of the door. Confirm the finish when possible, remove grit dry, test dilute detergent, keep the cloth barely damp, rinse residue, and dry every seam. Treat color transfer, softening, sheen change, swelling, peeling, and heat damage as stop signs. Mild repeated maintenance and a functioning range hood are safer than waiting for a thick film and attacking it with abrasive or strongly alkaline cleaner.